Gather Necessary Supplies
You'll need a vacuum cleaner, microfiber cloths, all-purpose cleaner, and glass cleaner.
Vacuum Thoroughly
Start by vacuuming seats, floor mats, and hidden compartments, using different attachments for various surfaces.
Clean Upholstery
Use appropriate cleaners for fabrics and leather, wiping down seats, and applying conditioners if needed.
Wipe Down Surfaces
Pay attention to the dashboard, console, and high-touch areas like the steering wheel and door handles.
Clean Windows
Use a microfiber cloth and glass cleaner for streak-free windows and mirrors.
Final Touches
Don't forget to freshen the air and inspect for missed spots. For a more in-depth guide, keep exploring.
Gather Necessary Supplies
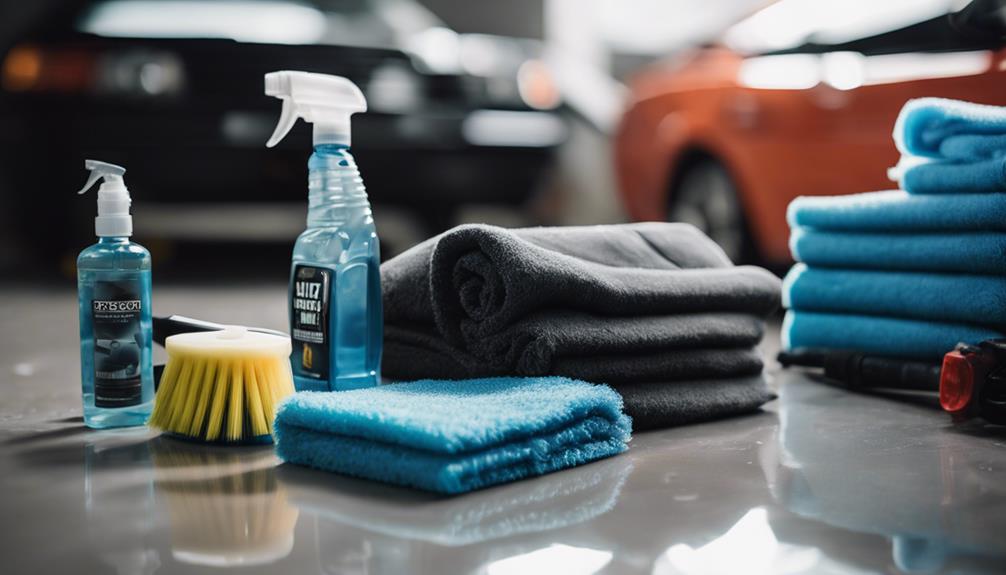
Before you start cleaning your car's interior, make sure you've gathered all the necessary supplies. Having everything at hand will save you time and effort. To begin, it's crucial to organize supplies effectively. This makes the cleaning process smoother and more efficient.
Essential Cleaning Supplies:
- Vacuum Cleaner: Guarantee it's suitable for car interiors.
- Microfiber Cloths: These are gentle on surfaces and great for dusting.
- All-Purpose Cleaner: Choose one that's safe for car interiors.
- Glass Cleaner: For streak-free windows and mirrors.
- Brushes: Various sizes for different areas, like vents and seams.
- Trash Bags: For collecting debris and trash.
Organize supplies in a portable container or caddy. This way, you can easily move them around your car as you clean. Store supplies in a designated area in your garage or storage space after use. Proper storage keeps your supplies in good condition and ready for the next cleaning session.
Tips for Organizing and Storing Supplies:
- Label containers or shelves.
- Keep similar items together.
- Regularly check and replenish your stock.
Vacuum Thoroughly
Vacuum Thoroughly
Once you've gathered all your supplies, start by vacuuming thoroughly to remove loose dirt and debris from the car's interior. Begin with the seats and floor mats. Use a vacuum with various attachments to reach different areas effectively. A crevice tool works well for tight spaces between seats and around seat belts.
Key Areas to Focus On:
- Seats and Floor Mats: Remove and vacuum separately. Be sure you get into the seams and folds where dirt often hides.
- Under Seats: Adjust the seats to their maximum positions to access all areas underneath.
- Hidden Compartments: Don't forget to vacuum glove boxes, center consoles, and other storage areas. Dirt can accumulate in these spots too.
- Dashboard and Console: Use a brush attachment to gently clean air vents and other small crevices.
- Trunk Area: Often overlooked, the trunk collects a lot of dirt. Vacuum it thoroughly, especially in the corners and under any removable panels.
Tips for Effective Vacuuming:
- Move Methodically: Work from top to bottom to avoid re-contaminating cleaned areas.
- Check Attachments: Use the appropriate nozzle for different surfaces to avoid damage.
- Inspect Your Work: Make a final check to make certain no areas are missed.
Following these steps guarantees a cleaner, fresher car interior.
Clean Upholstery
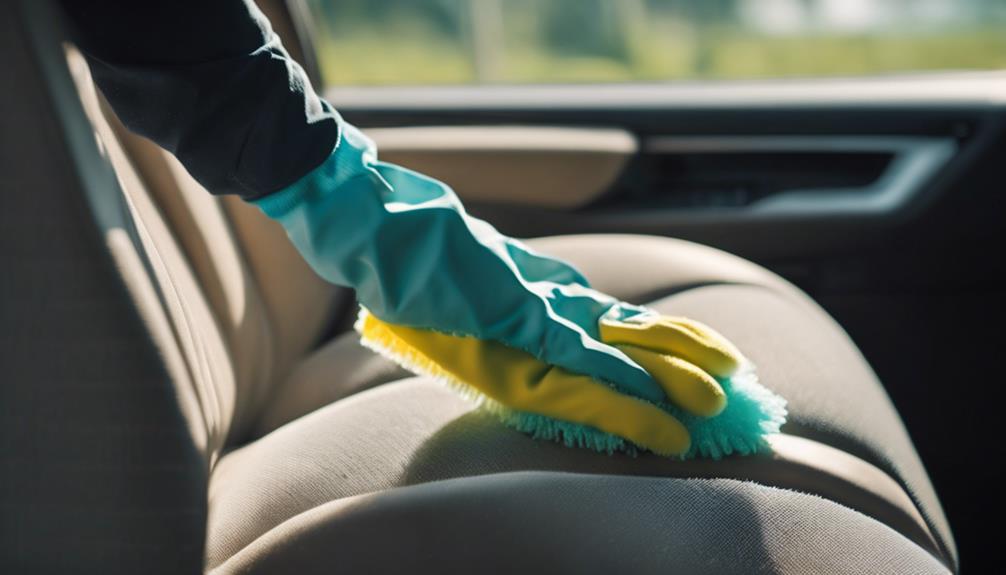
To clean your car's upholstery effectively, start by vacuuming the seats thoroughly to remove loose dirt and debris. Next, use appropriate cleaning solutions to tackle any stains, ensuring they are removed without damaging the material. If you have leather seats, condition them properly to maintain their appearance and prevent cracking.
Vacuum Seats Thoroughly
Best Practices for Cleaning Car Interiors
Vacuum Seats Thoroughly
Regularly vacuuming the seats is crucial for maintaining clean and fresh upholstery in your car. Over time, pet hair, loose crumbs, and other debris can accumulate on your car seats, making the interior look untidy and potentially causing unpleasant odors. To guarantee your car seats remain in top condition, follow these steps:
- Prepare Your Vacuum: Use a vacuum cleaner with a brush attachment. This helps effectively lift pet hair and crumbs from the fabric.
- Remove Loose Items: Take out any personal items, trash, and floor mats. This allows you to access all areas of the seats without obstructions.
- Thoroughly Vacuum: Start from the top of the seats and work your way down. Use slow, overlapping strokes to make sure you don't miss any spots.
- Pay Attention to Crevices: Use the crevice tool attachment to reach into the seams and folds of the seats. This is where dirt often hides.
- Repeat if Necessary: For heavily soiled seats, go over the area a second time to ensure all debris is removed.
Remove Stains Effectively
Remove Stains Effectively
Once you've thoroughly vacuumed the seats, the next step is to tackle any stubborn stains on your car's upholstery. Stains can be challenging, but with some simple homemade remedies and natural solutions, you can restore your seats to their original condition.
Homemade Remedies
- Baking Soda Paste: Mix baking soda with water to form a paste. Apply it to the stain, let it sit for 30 minutes, then scrub gently with a soft brush. Wipe clean with a damp cloth.
- Vinegar and Dish Soap Solution: Combine one cup of vinegar, a few drops of dish soap, and a gallon of hot water. Use a spray bottle to apply the mixture to the stained area. Scrub with a soft brush, then blot with a clean cloth.
Natural Solutions
- Lemon Juice: Lemon juice can effectively tackle tough stains. Apply it directly to the stain, let it sit for 10 minutes, then blot with a damp cloth.
- Club Soda: Spray club soda on the stain and scrub with a soft brush. Blot with a clean, dry cloth to remove excess moisture.
Condition Leather Properly
Maintaining the luxurious feel of your car's leather seats requires proper conditioning to keep them supple and free from cracks. Leather hydration is essential to prevent the material from drying out and developing unsightly cracks over time.
Steps to Condition Leather Properly
- Clean the Leather First: Before you condition, make sure the leather is clean. Use a gentle, leather-specific cleaner to remove any dirt or grime.
- Choose the Right Conditioner: Select a high-quality leather conditioner designed for automotive interiors. Avoid products with harsh chemicals that can damage the leather.
- Apply the Conditioner: Use a soft cloth to apply the conditioner. Work it into the leather using circular motions, ensuring even coverage.
- Allow Absorption Time: Let the conditioner sit for the recommended time, usually around 15-30 minutes. This allows the leather to absorb the hydration it needs.
- Buff the Leather: After the conditioner has been absorbed, use a clean, dry cloth to buff the leather. This helps to remove any excess product and gives the seats a polished look.
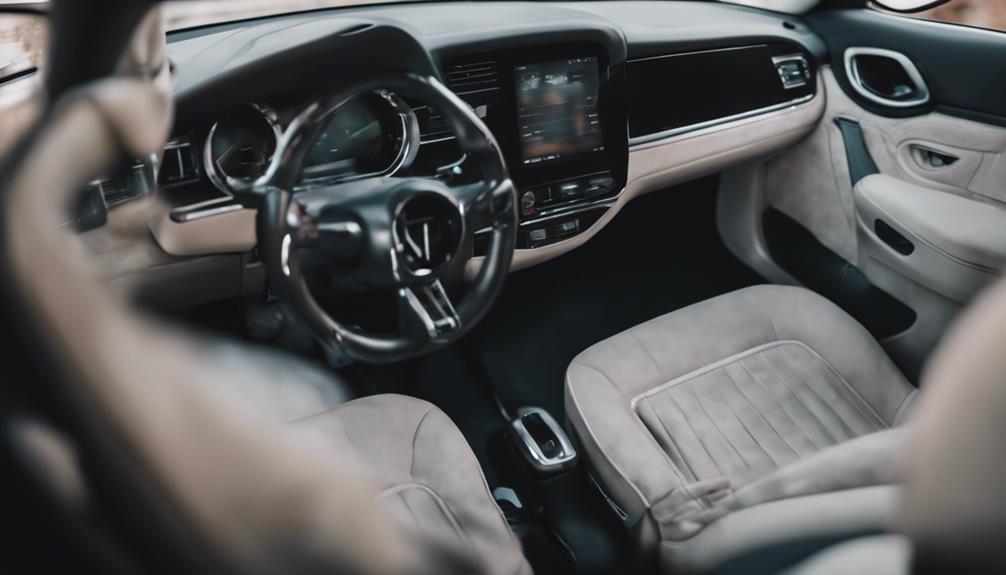
Wipe Down Surfaces
When wiping down surfaces, choose proper cleaning products that are safe for your car's interior materials. Avoid harsh chemicals that can damage surfaces or leave residues. Focus especially on high-touch areas like the steering wheel, door handles, and dashboard.
Choose Proper Cleaning Products
Choose Proper Cleaning Products
Wipe Down Surfaces
Selecting the appropriate cleaning products is crucial for effectively wiping down your car's interior surfaces. When choosing a product, always read the product labels carefully. The labels provide important information about the chemical composition of the cleaner, making sure it's suitable for the specific materials in your car. For example, leather seats require a different cleaner than fabric upholstery or plastic dashboards.
Key Considerations
- Surface Material: Identify the type of material you're cleaning. Leather, fabric, vinyl, and plastic all have specific cleaners designed for the best results.
- Product Labels: Check the labels for compatibility with your car's interior surfaces. Some products are multi-surface, but others are specialized.
- Chemical Composition: Understand the chemicals used in the product. Look for cleaners that are gentle yet effective, avoiding ingredients that could harm your car's interior.
Application Tips
- Spray and Wipe: Apply the cleaner directly to a microfiber cloth rather than the surface to avoid oversaturation.
- Consistent Technique: Use a consistent wiping technique to ensure even cleaning and prevent streaks.
- Test First: Always test new products on a small, inconspicuous area to make sure they don't cause discoloration or damage.
Avoid Harsh Chemicals
Avoid Harsh Chemicals
While choosing the right cleaning products, it's equally important to avoid harsh chemicals that could damage your car's interior surfaces. Using harsh chemicals can wear down materials like leather, plastic, and fabric, leading to premature aging and deterioration. Additionally, these chemicals can have a negative environmental impact, releasing harmful substances into the air and water.
Chemical Alternatives
Instead of relying on harsh chemicals, consider using gentler, more environmentally friendly alternatives. Here are some effective options:
- Vinegar and Water Solution: Mix equal parts of vinegar and water to create a natural cleaner that can tackle most surfaces without causing damage.
- Baking Soda Paste: Combine baking soda with a small amount of water to form a paste. This is excellent for removing stains and odors from fabric surfaces.
- Mild Dish Soap: Dilute a few drops of mild dish soap in water to clean plastic and vinyl surfaces gently.
Benefits
Focus on High-Touch Areas
Focus on High-Touch Areas
Paying attention to high-touch areas in your car guarantees these frequently used surfaces remain clean and germ-free. High-touch areas include your steering wheel, door handles, and other controls you often use. These spots can accumulate dirt and bacteria, so regular cleaning is essential.
Steering Wheel
The steering wheel is one of the most touched areas in your vehicle. To clean it effectively, use a microfiber cloth and a mild cleaner. Gently wipe down the entire surface, ensuring you get into all the crevices. Avoid using harsh chemicals that might damage the material.
Door Handles
Both interior and exterior door handles are high-touch areas. Use a disinfectant wipe or a cloth with a suitable cleaning solution. Make sure you thoroughly clean the handles, as they are often touched but easily overlooked.
Other Controls
Don't forget about other controls like gear shifts, buttons, and touch screens. Use appropriate cleaners for each surface type to avoid damage. Regularly wiping these areas helps maintain a clean environment inside your car.
Clean Windows
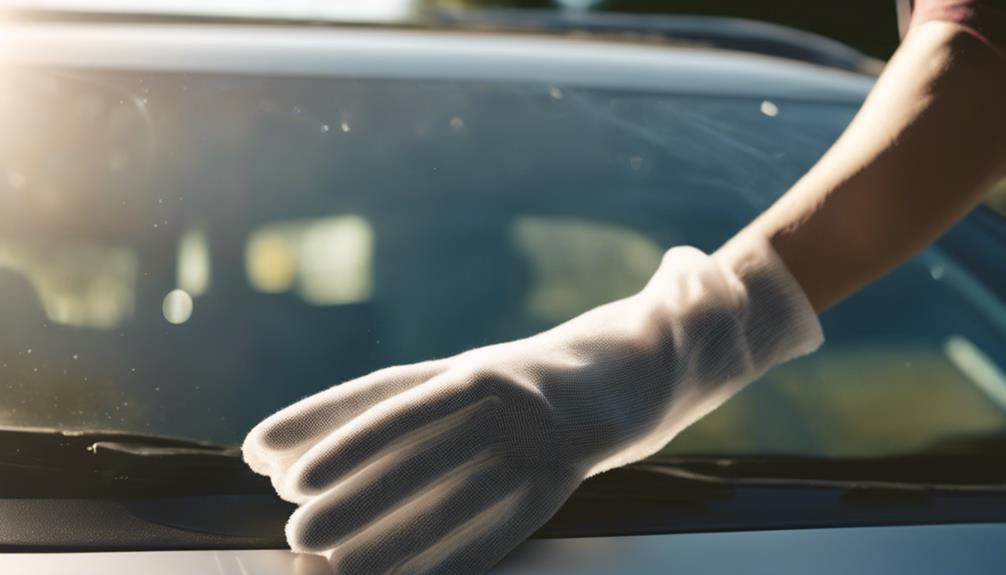
Clean Windows
To achieve crystal-clear windows, start by gathering a microfiber cloth and a quality glass cleaner. Using a microfiber cloth is essential to avoid streaks and guarantee a spotless finish. Here's a step-by-step guide to help you clean your car windows effectively:
Step-by-Step Guide
- Spray the Glass Cleaner:
- Apply the glass cleaner directly onto the window or onto the microfiber cloth. Avoid spraying too much, as excess liquid can cause streaks.
- Wipe in a Circular Motion:
- Use the microfiber cloth to wipe the window in a circular motion. This helps to lift dirt and grime effectively without spreading it around.
- Switch to a Vertical and Horizontal Wipe:
- After the initial circular wipe, use vertical and horizontal strokes to ensure a thorough clean. This technique helps to remove any remaining residue.
- Dry with a Clean Microfiber Cloth:
- Use a dry microfiber cloth to buff the window and remove any remaining cleaner. This step is vital to avoid streaks and achieve a crystal-clear finish.
- Repeat as Needed:
- If the windows are particularly dirty, repeat the process until they are clean.
Condition Leather
Condition Leather
Regularly conditioning your car's leather seats guarantees they stay supple and look luxurious for years. Leather is a natural material that can dry out and develop leather cracks if not properly maintained. To keep your leather seats in top shape, follow these steps:
Step 1: Choose the Right Conditioner
- Select a high-quality leather conditioner. Look for products that are specifically designed for automotive leather, as these will provide the best protection.
Step 2: Clean the Leather
- Before applying any conditioner, clean the leather with a gentle leather cleaner. This removes any dirt and grime that could interfere with the conditioning process.
Step 3: Apply the Conditioner
- Apply a small amount of conditioner to a soft, clean cloth.
- Rub the conditioner into the leather using circular motions, ensuring even coverage.
- Pay special attention to high-wear areas like the driver's seat.
Step 4: Let It Absorb
- Allow the conditioner to absorb into the leather for at least 15 minutes. This helps to prevent fading and keeps the leather hydrated.
Step 5: Buff the Leather
- After the conditioner has absorbed, buff the leather with a dry cloth to remove any excess product and to give it a nice shine.
Remove Odors

Once your leather seats are well-conditioned, it's time to tackle any lingering odors in your car's interior. Odors can build up over time from food spills, pet hair, and general use. Here's how you can effectively remove them:
Step-by-Step Guide to Remove Odors
- Clean Thoroughly: Start by vacuuming the entire interior. Pay special attention to carpets, floor mats, and under the seats. Remove any trash or debris that could be contributing to the smell.
- Use Odor Absorbers: Place odor absorbers, like activated charcoal or baking soda, in different areas of your car. These materials are excellent at trapping and neutralizing smells.
- Apply Air Fresheners: Choose air fresheners that suit your preference—sprays, vent clips, or hanging options. Make sure to place them in locations where they can circulate through your car's air system.
- Wipe Down Surfaces: Use a mild cleaning solution to wipe down the dashboard, steering wheel, and other hard surfaces. This will help remove any residue that could harbor odors.
- Check the Air Vents: Spray a disinfectant into the air vents to eliminate any hidden bacteria or mold that may cause unpleasant smells.
Final Touches
Now that your car's interior is clean and odor-free, let's add some final touches to make it look and feel brand new. These small steps can make a significant difference in the overall presentation and ambiance of your car.
Dashboard Polish
First, focus on your dashboard. A good dashboard polish not only enhances the look of your car's interior but also protects the material from UV rays and dust. Apply a small amount of dashboard polish to a clean, soft cloth. Gently rub the polish onto the dashboard in a circular motion, ensuring you cover all areas. This will give your dashboard a sleek, shiny finish and help keep it dust-free longer.
Air Fresheners
Next, add a pleasant scent to your car with air fresheners. Choose an air freshener that complements your preferences, whether it's a hanging type, vent clip, or a spray. Place or spray the air freshener in a location that allows for maximum scent distribution. This final touch will make every drive more enjoyable by providing a fresh and inviting atmosphere.


