DIY Auto Detailing Tips
Gather Your Supplies:
- Microfiber towels
- Car wash soap (neutral pH)
- Wax
- Interior cleaner
- Vacuum
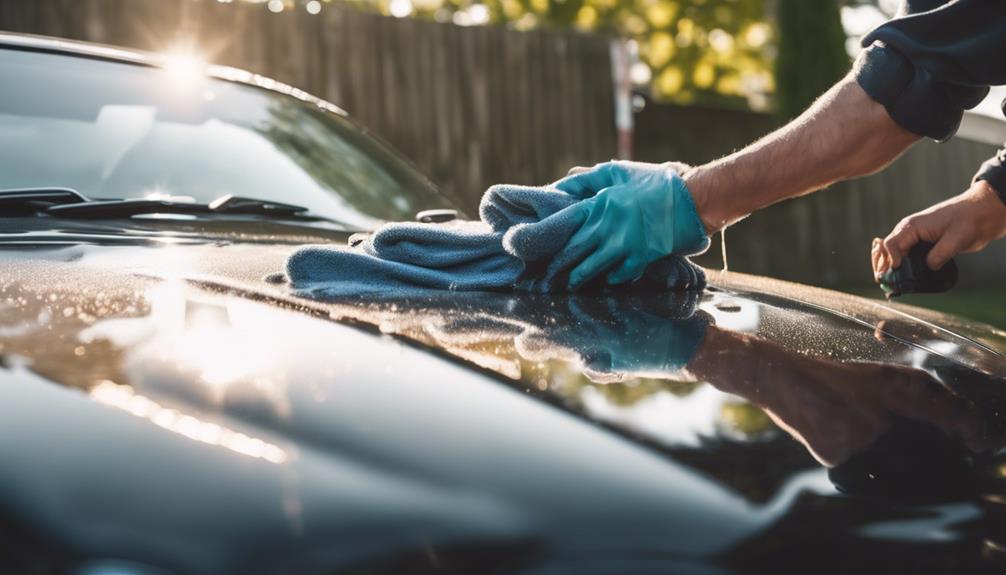
Exterior Washing:
- Use car wash soap with a neutral pH to protect paint.
Paint Decontamination:
- Apply a clay bar and iron remover for a smooth finish.
Polishing Techniques:
- Choose a dual action polisher, use proper pads, and work in small sections.
Wax and Sealants:
- Apply wax by hand or machine, depending on the environmental conditions.
Interior Cleaning:
- Detail the dashboard, remove odors, and clean air vents with microfiber cloths.
Upholstery and Carpet Care:
- Use stain remover and fabric protection sprays.
For more tips and detailed steps, continue exploring.
Gather Your Supplies
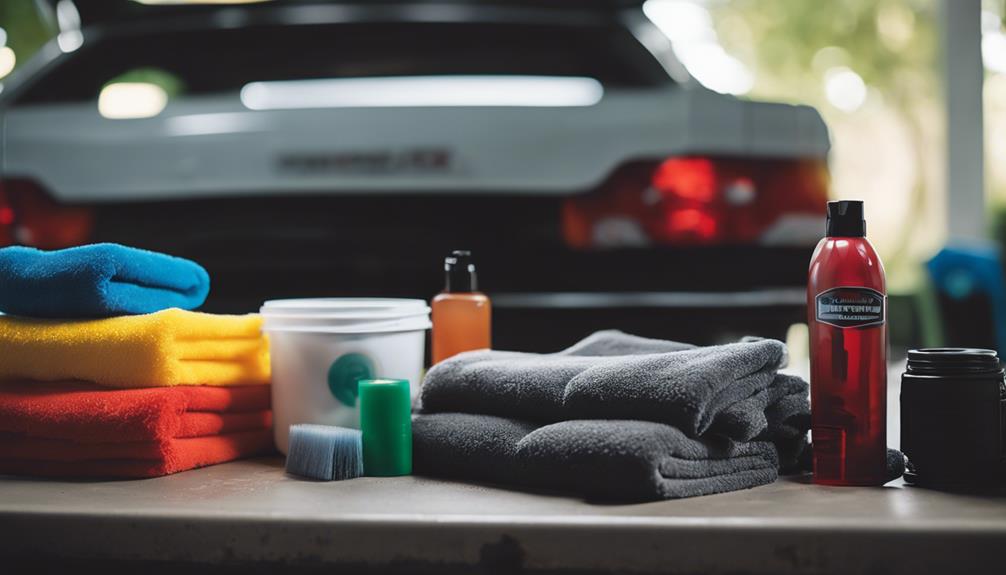
Before you start detailing your car, make sure you've gathered all the necessary supplies for the job. Proper preparation saves you time and helps you achieve better results. Start with budget planning to avoid overspending. Identify the essential items: microfiber towels, car wash soap, wax, interior cleaner, and a vacuum. Check local stores or online retailers for deals to stretch your budget.
Essential Supplies Checklist:
- Microfiber towels
- Car wash soap
- Wax
- Interior cleaner
- Vacuum
Next, think about storage solutions. Ensuring your supplies are organized ensures you can find everything easily when needed. Invest in a storage bin or a dedicated shelf in your garage. Label containers for quick identification. If space is tight, consider wall-mounted racks or hanging organizers to maximize vertical storage.
Storage Solutions Tips:
- Use storage bins
- Invest in shelving
- Label containers
- Consider wall-mounted racks
Exterior Washing
When washing your car's exterior, you'll want to focus on two main points: proper soap selection and drying techniques. Use a soap specifically designed for cars to protect your paint and finish. After washing, dry the car thoroughly with a clean, soft microfiber towel to prevent water spots.
Proper Soap Selection
Selecting the appropriate soap is vital for maintaining your car's paint and guaranteeing a thorough clean. When choosing a soap, you must consider the soap's pH levels. A soap with a neutral pH (around 7) is ideal as it's gentle on your car's paint, preventing corrosion and fading. Soaps that are too acidic or alkaline can damage the paint over time.
Key Considerations
- Soap pH Levels: Stick to a neutral pH to avoid harming your car's exterior. Check the product label to make sure it falls within the safe range.
- Biodegradable Options: Opt for biodegradable soaps. These are environmentally friendly and break down naturally, reducing harmful runoff into water systems.
Benefits of Proper Soap Selection
- Protects Paintwork: Using the right soap preserves the integrity of your car's paint, keeping it glossy and vibrant.
- Environmental Responsibility: Biodegradable soaps minimize your ecological footprint, making your car wash routine more sustainable.
Avoiding Common Mistakes
- Dish Soap: Never use dish soap as it's too harsh and can strip away protective wax layers.
- High pH Cleaners: Avoid high pH cleaners as they can cause long-term damage to the paint.
Selecting the right soap ensures your car remains in top condition while also being kind to the environment.
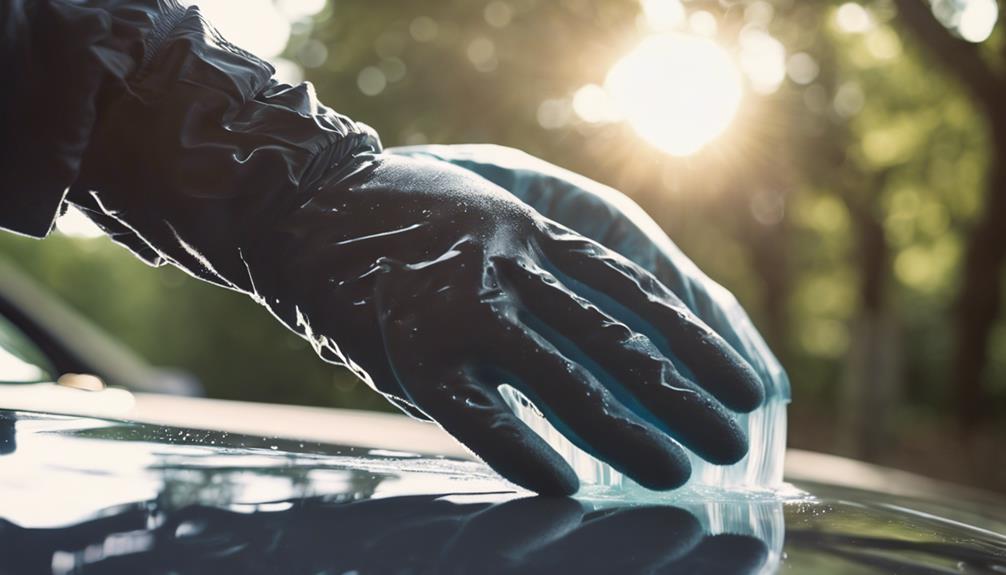
Drying Techniques
Drying Techniques
Proper drying techniques are essential to avoid water spots and streaks after washing your car. Leaving water to air dry can cause mineral deposits and unsightly marks on your vehicle's surface. To achieve a streak-free finish, consider the following methods and tools.
Use Drying Towels
- Microfiber Towels: Opt for high-quality microfiber drying towels. They are highly absorbent and gentle on your car's paint.
- Technique: Fold the towel into quarters, then gently pat and drag it across the surface. Avoid rubbing harshly to guarantee scratching.
Employ Water Blades
- Silicone Water Blades: These tools can quickly remove most of the water from large, flat surfaces.
- Usage: Hold the water blade at a slight angle and glide it across the car's body. This method minimizes the need for excessive towel drying.
Combination Approach
- Initial Water Removal: Start with a water blade to push off the majority of the water.
- Final Touch: Follow up with a microfiber drying towel to catch any remaining droplets and ensure a spotless finish.
Paint Decontamination
To achieve a flawless finish, you need to start with thorough paint decontamination to eradicate embedded contaminants. This process guarantees that your car's paint is as clean and smooth as possible before moving on to further detailing steps.
Step 1: Use a Clay Bar
- Purpose: A clay bar removes surface contaminants like tree sap, tar, and industrial fallout that washing can't.
- How to Use: First, spray a clay lubricant on a small section of the car. Glide the clay bar gently over the lubricated area in a back-and-forth motion. You'll feel the bar picking up contaminants as it moves. When the clay feels smooth against the paint, it's clean. Fold the clay to expose a clean surface and move to the next section.
Step 2: Apply an Iron Remover
- Purpose: Iron removers target and dissolve iron particles embedded in the paint, such as brake dust and rail dust.
- How to Use: Spray the iron remover evenly over the entire car. Let it sit for a few minutes, allowing it to react with the iron particles. You'll notice a color change indicating it's working. Finally, rinse off the iron remover thoroughly with water.
These steps are crucial for eliminating contaminants that can damage your car's paint over time.
Polishing Techniques
When polishing your car, start by choosing the right polisher that suits your needs, whether it's rotary or dual action. Make sure you're using the appropriate pad for the job, as different pads offer varying levels of abrasiveness. Finally, pay attention to finishing touches, ensuring a smooth, flawless surface for that professional look.
Choosing Right Polisher
Choosing the Right Polisher
Selecting the right polisher is essential for achieving a flawless finish on your vehicle. Understanding different polisher types and their speed settings will help you make an informed decision.
Polisher Types
There are two main types of polishers to take into account:
- Rotary Polishers: These are powerful tools that use a direct drive system. They are ideal for removing deep scratches and oxidation but require more skill to avoid damaging the paint.
- Dual Action (DA) Polishers: These are user-friendly and safer for beginners. They oscillate and rotate, reducing the risk of paint damage while still providing excellent results.
Speed Settings
Polishers come with adjustable speed settings, typically measured in rotations per minute (RPM). Here's how to use them effectively:
- Low Speeds (1,500-2,000 RPM): Best for applying wax or sealant.
- Medium Speeds (3,000-4,000 RPM): Suitable for light polishing and removing minor imperfections.
- High Speeds (5,000-6,000 RPM): Ideal for heavy cutting and significant defect removal.
Choosing a polisher with variable speed settings allows you to tackle different tasks with precision. Understanding these basics will set the stage for successful auto detailing.
Proper Pad Usage
Mastering proper pad usage is essential for achieving the best polishing results on your vehicle. When working with polishing pads, it's important to understand the different types and their specific uses. Foam pads are typically used for light polishing, while wool pads are more aggressive and suited for cutting through deeper imperfections.
Pad Maintenance
- Clean Pads Regularly: After each use, clean your pads thoroughly to remove polish residue and contaminants. You can use pad cleaning solutions or simply wash them with water and mild detergent.
- Inspect for Wear: Before each session, check your pads for signs of wear and tear. A worn-out pad won't perform effectively and may damage your vehicle's paint.
Pad Storage
- Dry Completely: Make sure that your pads are completely dry before storing them. Moisture can lead to mold growth and degrade the pad material.
- Store in a Cool, Dry Place: Keep your pads in a cool, dry environment to extend their lifespan. Use resealable plastic bags or dedicated storage containers to protect them from dust and debris.
Finishing Touch Tips
Finishing Touch Tips: Polishing Techniques
With your pads properly maintained and stored, let's explore some expert polishing techniques to give your vehicle that flawless, showroom finish.
Polishing Techniques
- Choose the Right Polish: Select a polish that matches your vehicle's paint type. Apply a small amount to the pad and spread it across the surface before turning on the polisher.
- Work in Small Sections: Focus on 2×2 foot areas to make sure even application. This prevents the polish from drying out too quickly and allows for thorough coverage.
- Move the Polisher Slowly: Use slow, overlapping motions to avoid swirl marks and maintain an even polish. Keep the pad flat and maintain consistent pressure.
- Wipe Off Residue: After polishing, use a clean microfiber cloth to remove any residue. This step is essential for achieving a high-gloss finish.
Finishing Touches
- Tire Shine: Apply tire shine to your tires to give them a glossy, new look. This enhances the overall appearance of your detailed vehicle.
- Window Clarity: Clean your windows inside and out for maximum clarity. Use a streak-free glass cleaner and a microfiber cloth for the best results.
Wax and Sealants

Wax and Sealants
Applying wax and sealants is crucial for protecting your car's paint and enhancing its shine. To get started, you'll need to understand the right application methods and how longevity factors play a role.
Application Methods
- Hand Application: Use a foam or microfiber applicator pad. Apply a small amount of wax or sealant to the pad and spread it evenly over the car's surface in a circular motion.
- Machine Application: If you prefer using a dual-action polisher, it can save time and provide a more uniform coat. Attach a soft foam pad to the polisher, apply the product, and work in small sections to make sure even coverage.
Longevity Factors
- Type of Product: Carnauba waxes offer a deep shine but usually last only a few months. Synthetic sealants, on the other hand, can provide protection for up to six months.
- Environmental Conditions: UV rays, rain, and road salts can degrade the protective layer. Consider applying a fresh coat before winter or after a harsh season.
- Maintenance: Regular washing and using quick detailers can prolong the life of the wax or sealant.
Interior Cleaning
While the exterior of your car catches the eye, maintaining the interior clean is just as crucial for a comfortable and enjoyable ride. Begin with dashboard detailing to eliminate dust and grime that accumulate over time. Utilize a microfiber cloth and a suitable cleaner to wipe down the dashboard, steering wheel, and center console. Don't forget to clean air vents and small crevices using a soft brush.
Steps for Dashboard Detailing:
- Dust with a microfiber cloth.
- Apply a cleaner to a cloth, not directly to the surface.
- Wipe down all surfaces, including the steering wheel and center console.
- Use a soft brush for vents and crevices.
Next, focus on odor removal. A car's interior can trap various odors, diminishing your ride experience. Initially, eliminate any trash or debris. Then, thoroughly vacuum the seats and floor mats. For stubborn odors, utilize an odor neutralizer or an air purifier. Baking soda sprinkled on carpets and mats can also assist in absorbing unpleasant smells.
Tips for Odor Removal:
- Remove trash and vacuum thoroughly.
- Use odor neutralizers or air purifiers.
- Sprinkle baking soda on carpets and mats, then vacuum.
Following these steps guarantees your car's interior is clean and inviting.
Upholstery and Carpet Care
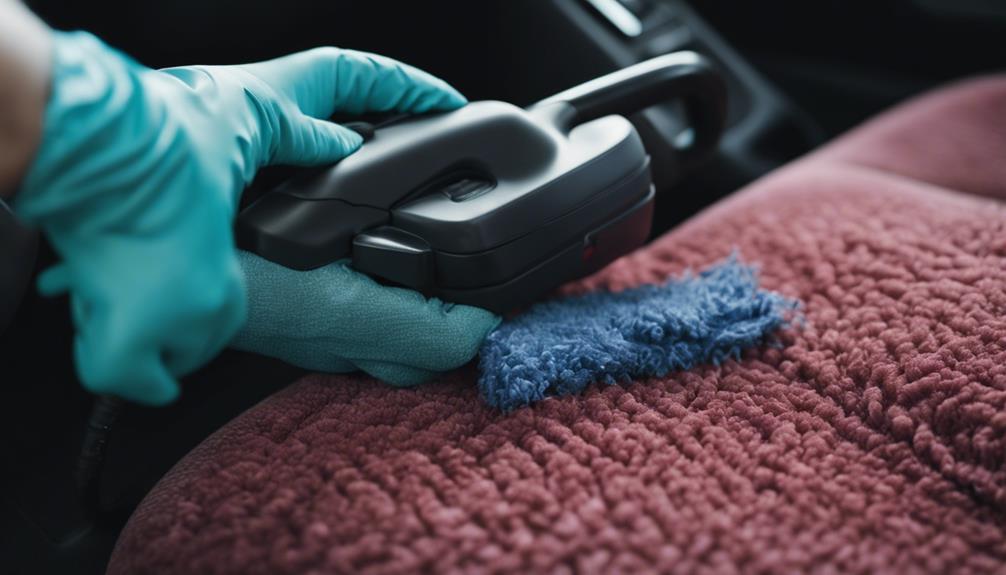
Taking care of your car's upholstery and carpets guarantees a fresh and comfortable environment for every drive. Start by vacuuming thoroughly to remove loose dirt and debris. Use a crevice tool for hard-to-reach areas, ensuring a clean surface before addressing stains.
Stain Removal
For stubborn stains, apply a suitable upholstery cleaner. Follow the product instructions closely. Blot the stain with a clean cloth, starting from the outer edge and working inward to avoid spreading. For carpets, a brush may help lift the stain better. Rinse with water and blot dry.
Fabric Protection
Once the upholstery and carpets are clean, apply a fabric protection spray. This creates a barrier that repels future stains and makes cleaning easier. Evenly spray the product, ensuring full coverage. Allow it to dry completely before using the car.
Regular Maintenance
To maintain cleanliness, vacuum the interior weekly. Address spills immediately to prevent stains from setting. Periodically reapply fabric protection to keep your car's upholstery and carpets in top condition.
Finishing Touches
Now that your upholstery and carpets are spotless, it's time to add some finishing touches to make your car shine. These final steps will guarantee your vehicle looks its best inside and out.
Tire Shine
First, focus on your tires. Clean tires contribute greatly to your car's overall appearance. Use a high-quality tire shine product to give your tires a deep, glossy finish. Apply the tire shine evenly across the tire's surface. This will not only enhance the look but also protect the rubber from cracking and fading over time.
Chrome Polishing
Next, turn your attention to any chrome surfaces on your car, such as the grille, bumpers, and trim. Chrome polishing is essential for maintaining a brilliant, reflective finish. Use a specialized chrome polish and a microfiber cloth to gently buff the chrome areas. This will remove any tarnish or oxidation, leaving the chrome looking like new.


