Assess the Damage
- Shine a flashlight, check at an angle, and run fingers over the surface.
Gather Supplies
- Microfiber towels, polishing compound, dual-action polisher, applicator pads, and detailing spray.
Wash and Dry
- Clean the car thoroughly to avoid further scratching.
Apply Scratch Remover
- Use a soft applicator pad, applying in circular motions with consistent pressure.
Polish and Buff
- Use a crosshatch pattern, then wipe off excess polish with a microfiber cloth.
Seal and Protect
- Apply ceramic coatings or sealants to protect the paint.
Follow these steps properly and your car will look like new.
Assess the Damage
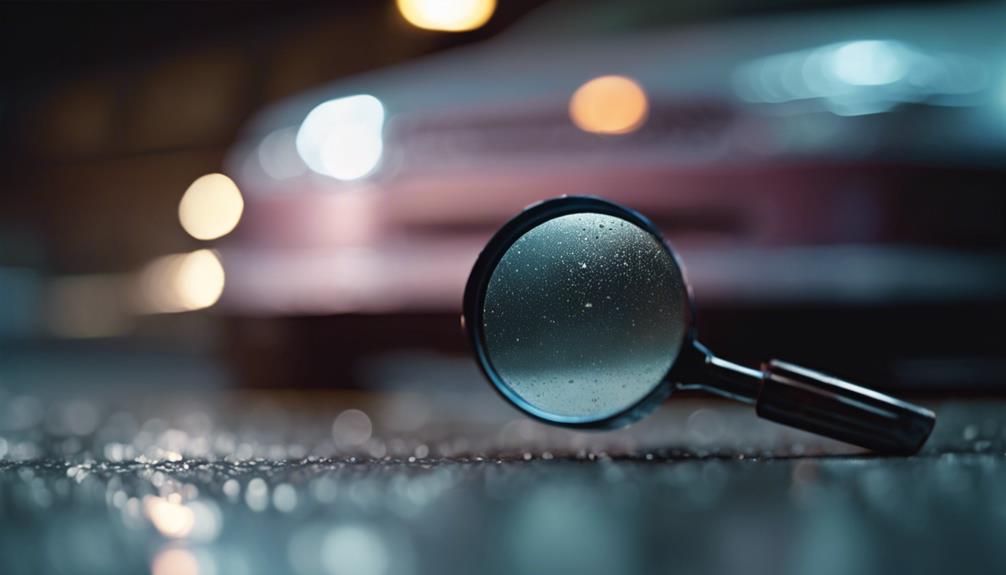
Begin by closely inspecting your car's paint under good lighting to identify the extent of the scratches and swirls. Proper lighting is essential, so choose a well-lit area or use a bright flashlight. This will help you see the scratches and swirls clearly. During this inspection, you'll need to use effective examination techniques to carefully examine the paint surface. Look at the paint from different angles to catch any imperfections that might not be visible from just one perspective.
Inspection Techniques
- Direct Light: Shine a flashlight directly on the surface. Move it around to see how light reflects off the paint.
- Oblique Light: Hold the light at an angle to catch scratches that might not be visible under direct light.
- Tactile Check: Run your fingers gently over the surface to feel for any roughness or uneven areas.
Determining Damage Severity
After identifying all the imperfections, evaluate the damage severity. Scratches and swirls can range from shallow, surface-level marks to deeper, more pronounced scratches. Shallow scratches might only penetrate the clear coat, while deeper ones can go through the paint layers. Understanding the severity will help you determine the best approach for removal. Conducting a thorough examination will set the groundwork for effectively addressing the damage.
Gather Necessary Supplies
Gather Necessary Supplies
To tackle the scratches and swirls on your car's paint, you'll need to gather a few essential supplies. Having the right tools and products guarantees you get the best results and avoid further damage to your vehicle.
Essential Supplies
- Microfiber Towels: These are essential for applying and removing products without scratching the paint.
- Scratch Remover or Polishing Compound: Choose a high-quality product designed for removing scratches and swirls.
- Dual-Action Polisher: While you can work by hand, a polisher makes the job easier and more effective.
- Applicator Pads: Use these to apply the scratch remover or polishing compound evenly.
- Detailing Spray: This helps with the final touch-up, ensuring a smooth, glossy finish.
- Masking Tape: Use this to protect areas you don't want to polish, such as trim and badges.
Shopping Tips
- Quality Over Quantity: Invest in high-quality products to guarantee better results and minimize risks.
- Compare Brands: Look for reviews and comparisons to find the best options available.
- Supplies Storage: Keep your supplies organized and stored in a cool, dry place to maintain their effectiveness.
Wash and Dry Your Car
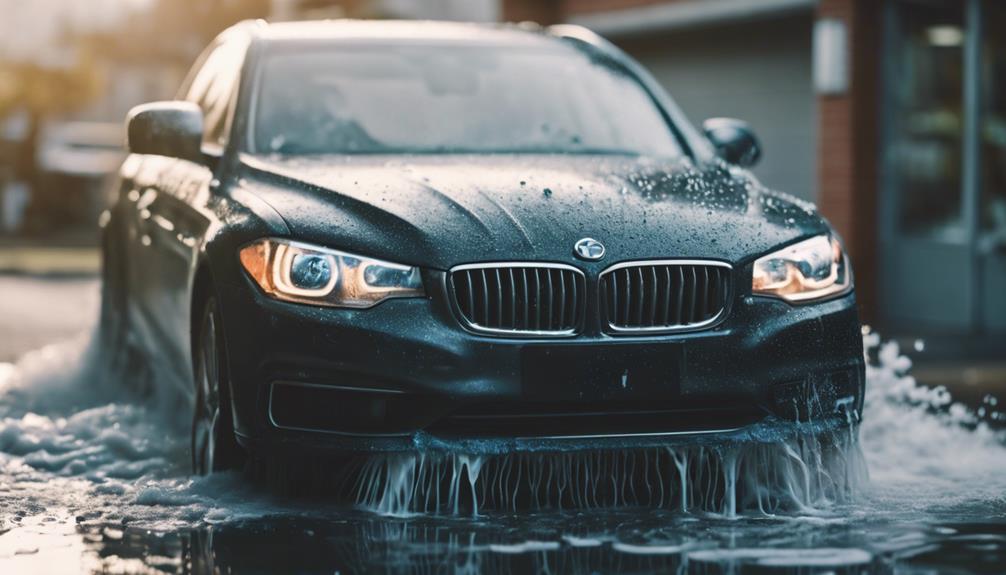
When you wash and dry your car, it's crucial to choose gentle cleaning products to protect the paint. Use microfiber towels to prevent additional scratches and swirls, and avoid washing your car in direct sunlight to prevent water spots. Following these steps guarantees a clean surface, ready for further scratch and swirl removal.
Choose Gentle Cleaning Products
Choose Gentle Cleaning Products
Opt for gentle cleaning products to prevent further damage to your car's paint while washing and drying it. Using harsh chemicals can exacerbate scratches and swirls, making the problem worse. Instead, go for cleaning agents with gentle formulations specifically designed for automotive paint.
Why Use Gentle Formulations?
- Preserve Paint Quality: Gentle formulations are less abrasive, reducing the risk of further scratching your car's paint.
- Maintain Gloss: These products help maintain the vehicle's original shine, enhancing its appearance.
What to Look For in Cleaning Agents
- pH-Balanced: Make sure the product is pH-balanced to avoid stripping away the protective wax or sealant layers.
- No Harsh Chemicals: Avoid formulas containing strong acids or alkalis, as they can cause long-term damage.
- Lubricating Properties: Choose products with good lubricating properties to allow dirt and grime to glide off the surface, minimizing friction.
Recommended Products
- Car-Specific Shampoos: These are designed to be gentle on automotive paint.
- Mild Detergents: Formulated to clean without causing harm.
- Eco-Friendly Options: Often gentler and safer for both your car and the environment.
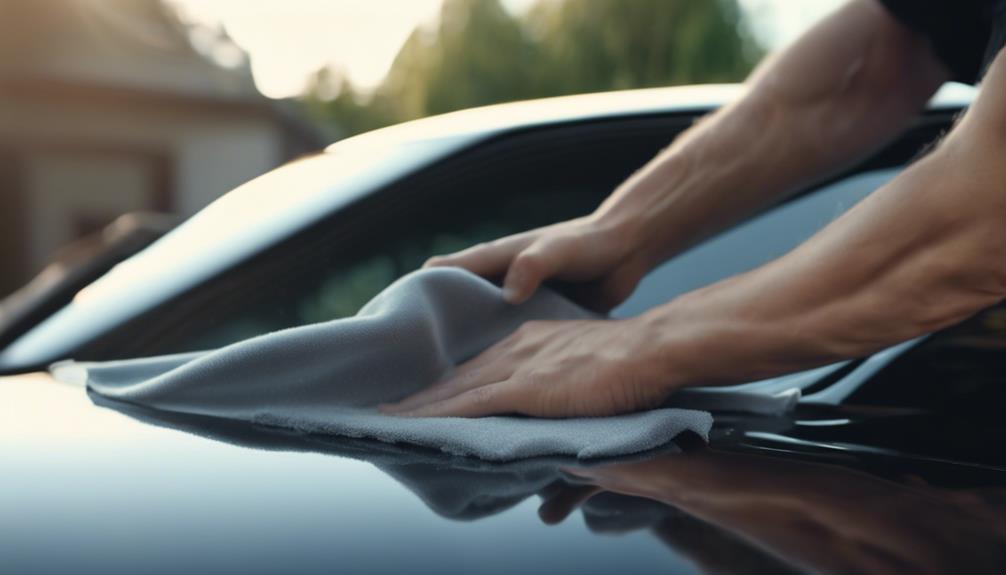
Use Microfiber Towels
Use Microfiber Towels
To further safeguard your car's paint while washing and drying, use microfiber towels instead of traditional cloths. Microfiber properties make these towels highly effective at trapping dirt and grime, reducing the risk of scratching your car's paint. Their soft texture guarantees that you won't leave additional swirls or scratches during the cleaning process.
Towel Selection
When choosing microfiber towels, keep these points in mind:
- Quality: Opt for high-quality microfiber towels with a high GSM (grams per square meter) rating. They are thicker and more absorbent, which means they can hold more dirt and water.
- Size: Consider using larger towels for drying to cover more surface area efficiently. Smaller towels can be reserved for specific tasks like detailing.
- Edging: Choose towels with soft, edgeless finishes to prevent scratching. Avoid towels with hard seams or labels that could potentially damage the paint.
Washing and Drying Process
- Washing: Use separate towels for different areas of the car to avoid cross-contamination. Rinse the towels frequently to remove trapped dirt.
- Drying: Pat the surface dry rather than rubbing it. This minimizes friction and further protects the paint.
Avoid Direct Sunlight
Avoid Direct Sunlight
Direct sunlight can cause water spots and streaks on your car's paint, so always wash and dry your vehicle in a shaded area. When you wash your car under the sun, the heat causes the water to evaporate quickly, leaving behind mineral deposits that can etch into the paint. These deposits can make your car look dull and contribute to scratches and swirls.
Why Shade Matters
- Heat Damage: The sun's heat can make the car's surface hot, causing soap and water to dry too quickly. This rapid drying can leave residues that are difficult to remove.
- UV Exposure: Prolonged exposure to UV rays can weaken the paint and make it more susceptible to damage. Washing in the shade helps protect the paint from these harmful effects.
Steps for Shaded Washing
- Find a Shaded Spot: Look for an area, like under a tree or in a garage, where your car will be protected from direct sunlight.
- Wash in Sections: To avoid water spots, wash and rinse one section at a time.
- Dry Quickly: Use a microfiber towel to dry the car immediately after washing to prevent streaks and water spots.
Apply Scratch Remover
To effectively remove scratches and swirls, you'll need to choose a quality scratch remover. Follow the proper application technique to guarantee even coverage, and then buff the area for best results. Each step is essential for restoring your car's paint to its original shine.
Choose Quality Scratch Remover
Choose Quality Scratch Remover
Selecting a high-quality scratch remover is vital for effectively addressing scratches and swirls on your car's paint. Start by looking at the brand reputation. Well-known brands often invest more in research and development to guarantee their products are effective and safe for your vehicle.
- Brand Reputation: Established brands are typically more reliable. They have a history of producing quality products, and their reputation depends on customer satisfaction.
- User Reviews: Check user reviews to gauge real-world performance. Reviews provide insights into how well a product works, any potential issues, and overall user satisfaction.
When choosing a scratch remover, pay close attention to the ingredients. Some products may contain harsh chemicals that can damage your paint further. It's essential to select a product specifically formulated for your type of car paint.
- Ingredients: Make sure the scratch remover is safe for your car's paint type. Look for products that mention being safe for clear coats and various paint finishes.
Proper Application Technique
Proper Application Technique
Applying scratch remover properly guarantees the best results and prevents further damage to your car's paint. Begin by confirming the area is clean and free of dust or debris, which can cause additional scratches during application.
Steps to Apply Scratch Remover:
- Select a Soft Applicator Pad: Use a clean, soft foam or microfiber applicator pad to apply the scratch remover.
- Apply a Small Amount of Product: Squeeze a small amount of scratch remover onto the pad. Too much product can be difficult to work with and may not yield better results.
- Use Circular Motion: Work the scratch remover into the paint using a circular motion. This helps evenly distribute the product and ensures it reaches all parts of the scratch.
- Maintain Consistent Pressure: Apply consistent pressure as you work the product into the paint. Avoid pressing too hard, which can damage the paint, or too softly, which may not effectively remove the scratch.
- Work in Small Sections: Focus on small sections of the scratch at a time. This allows you to control the amount of scratch remover used and ensures thorough application.
Following these steps will help you effectively apply the scratch remover and prepare for the next stage of buffing.
Buffing for Best Results
Buffing for Best Results
Now that you've properly applied the scratch remover, it's time to buff the area to achieve a flawless finish. Buffing helps to smooth out the paint and blend the treated area with the rest of your car's surface. Here's how to do it right:
Gather Your Tools
- Buffing pads: Choose high-quality pads that match the scratch remover you used.
- Buffer or polisher: A dual-action polisher is ideal for beginners.
Buffing Technique
- Attach the Buffing Pad: Securely attach the buffing pad to your polisher.
- Apply Scratch Remover: Place a small amount of scratch remover on the pad.
Buffing Process
- Start Slow: Turn on the buffer at a low speed.
- Use Circular Motion: Move the buffer in a circular motion, covering the entire scratched area. This guarantees even pressure and avoids creating new swirls.
- Increase Speed Gradually: Gradually increase the speed of the buffer for better results.
- Check Your Progress: Periodically stop and wipe the area with a clean microfiber cloth to check your progress.
Final Check
- Inspect the Area: Make sure the scratch and swirl marks are gone.
- Reapply if Necessary: If needed, repeat the process for stubborn scratches.
Polish and Buff the Paint
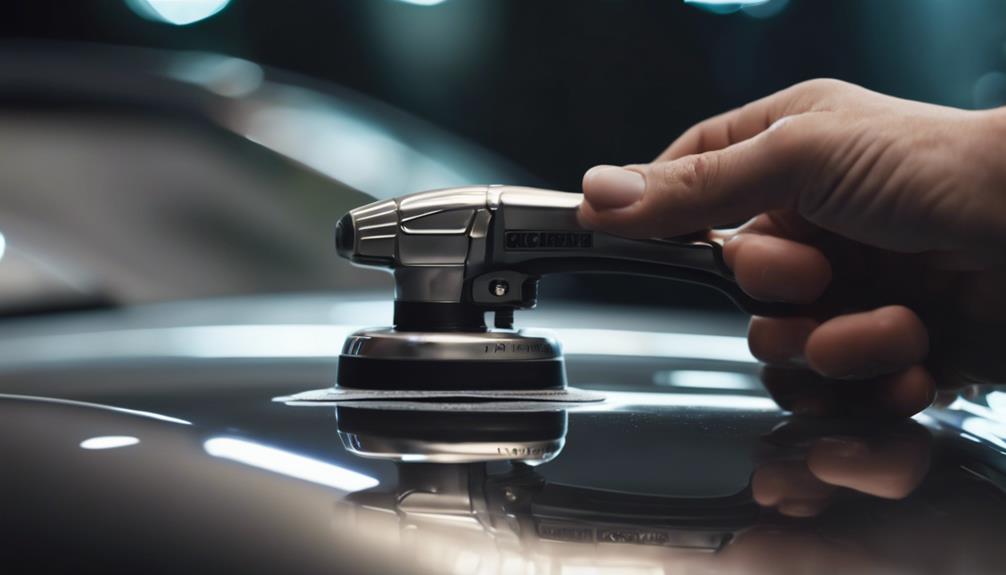
Polishing and buffing the paint will remove minor imperfections and bring out a brilliant shine in your car's finish.
Types of Polish
First, choose the right type of polish for your car. Polishes come in several types:
- Light polish: Ideal for minor scratches and lightly swirled surfaces.
- Medium polish: Effective for moderate imperfections.
- Heavy polish: Best for deep scratches and significant swirl marks.
Identify the condition of your car's paint to select the appropriate polish type.
Using Buffing Pads
Next, you'll need to select the right buffing pads. Buffing pads also come in various types, each designed for specific tasks:
- Foam pads: Suitable for light to medium polishing tasks.
- Wool pads: More aggressive, ideal for heavy polishing.
- Microfiber pads: Great for finishing touches and achieving a high gloss.
Attach the buffing pad to a dual-action polisher.
Application Process
- Apply a small amount of polish to the pad.
- Spread it evenly over a small section of the car.
- Turn the polisher on and work in a crosshatch pattern.
- Keep the pad moving to avoid overheating the paint.
- Wipe off excess polish with a microfiber cloth.
Repeat this process for the entire car, ensuring consistent coverage and shine.
Seal and Protect the Surface
Seal and Protect the Surface
After polishing, it is important to seal and protect the surface to maintain the shine and safeguard the paint from future damage. This step guarantees that your hard work doesn't go to waste and keeps the car looking pristine for longer.
Choosing the Right Surface Sealants
Surface sealants are vital. They form a barrier between the paint and external elements like UV rays, dirt, and water. When selecting a sealant, look for one that offers long-lasting protection and enhances the car's gloss. Polymer-based sealants are popular because they provide a durable, smooth finish.
Applying Protective Coatings
Protective coatings, such as ceramic coatings, offer an even stronger shield for your car's paint. These coatings chemically bond to the surface, creating a tough, hydrophobic layer that repels water and contaminants. To apply:
- Clean the Surface: Ensure the surface is free from dust and oils.
- Apply Evenly: Use a foam applicator to spread the coating evenly.
- Buff and Cure: Allow the coating to cure as per the manufacturer's instructions, then buff it to a brilliant shine.


