
Mastering professional auto detailing techniques guarantees your vehicle looks its best and maintains its value.
Exterior Washing:
- Use high-quality car shampoo and a microfiber mitt.
- Clean wheels with a dedicated wheel cleaner and brush.
Paint Correction:
- Inspect the surface, use a dual-action polisher, and polish for gloss.
Ceramic Coatings:
- Apply for durable, high-gloss protection.
Interior Cleaning:
- Dust the dashboard, shampoo carpets, and clean glass surfaces.
Leather Conditioning:
- Clean and condition every 3-6 months.
Engine Detailing:
- Steam clean, degrease, and protect with heat-resistant coatings.
Use these techniques for detailed perfection and discover additional ways to enhance your car.
Exterior Washing
Professional Auto Detailing Techniques
Exterior Washing
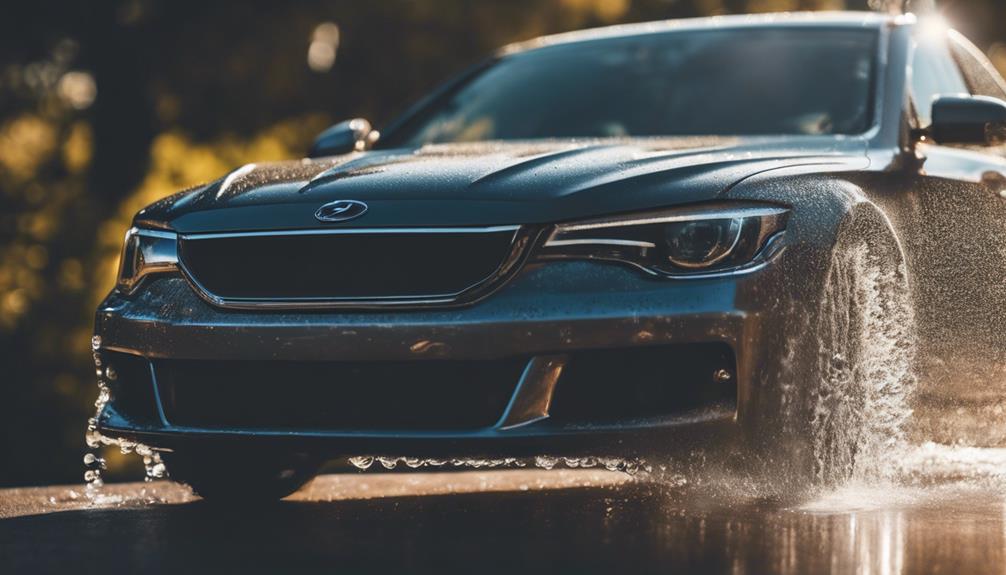
To achieve a spotless finish, begin your auto detailing with a thorough exterior wash. Start by rinsing the entire car with water to remove loose dirt and debris. Use a high-quality car shampoo and a microfiber mitt to wash the surface, ensuring you work from top to bottom to prevent dirt from resettling on cleaned areas.
Wheel Cleaning
Pay special attention to the wheels, as they accumulate a lot of grime. Use a dedicated wheel cleaner and a soft brush to scrub the wheels. Make sure to get into all the crevices and around the lug nuts. Rinse thoroughly to remove all cleaning agents. This step not only enhances the car's appearance but also helps in maintaining the wheels' longevity.
Tire Dressing
After cleaning the wheels, apply tire dressing to give them a polished look. Use a sponge or applicator pad to evenly distribute the dressing on the tire's sidewalls. This not only improves the appearance of the tires but also provides a protective layer against UV rays and road grime.
Paint Correction
Once your car's exterior is thoroughly washed and the wheels are gleaming, it's time to focus on paint correction to address any imperfections in the vehicle's finish. Paint correction is a meticulous process aimed at restoring your car's paint to its original, flawless condition. Here's what you need to know:
Step-by-Step Process
- Inspection: Start by examining your car under good lighting. Look for scratches, swirl marks, and other imperfections.
- Swirl Removal: Use a dual-action polisher with a cutting compound. Apply the compound to the pad and work it into the paint in small sections. The goal is to eliminate those unsightly swirls.
- Scratch Elimination: For deeper scratches, you may need a more abrasive compound. Work carefully to avoid removing too much clear coat. A microfiber towel can help you check your progress.
- Polishing: After addressing swirls and scratches, switch to a finer polish to enhance the paint's gloss. This step smooths out any remaining imperfections.
- Wipe Down: Finally, use a clean microfiber cloth to remove any residue. This guarantees a clean, smooth finish.
Ceramic Coatings
Ceramic Coatings
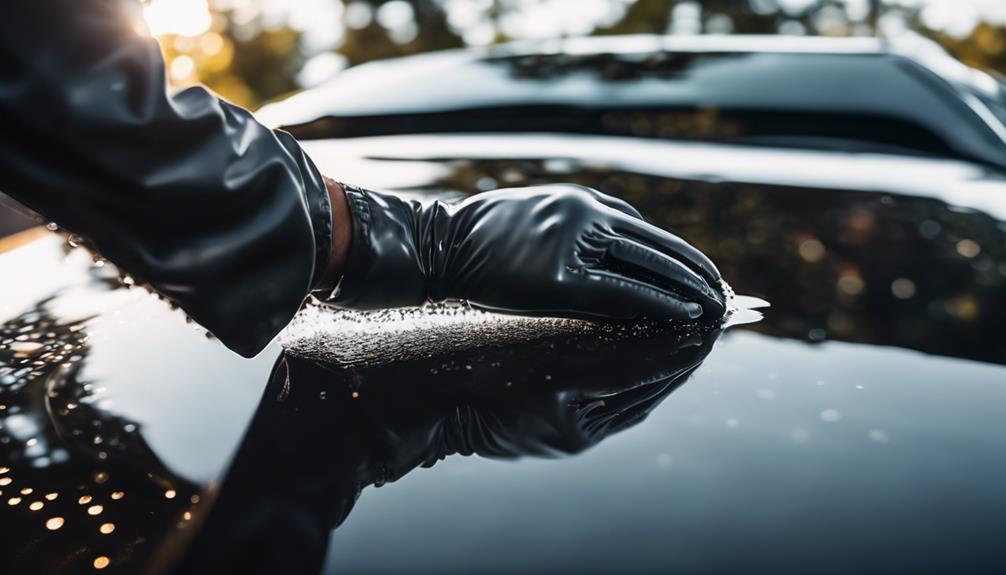
Ceramic coatings provide a durable, high-gloss shield that protects your car's paint from environmental damage and makes maintenance easier. They create a strong, hydrophobic layer that repels water, dirt, and other contaminants. This makes your vehicle easier to clean and keeps it looking newer for longer.
Application Methods
When applying ceramic coatings, you need to follow specific steps for the best results:
- Surface Preparation: Clean and decontaminate the paint thoroughly. Make sure you remove any old wax or sealants.
- Application: Use an applicator pad to apply the ceramic coating in small, manageable sections. Spread it evenly to avoid high spots or streaks.
- Buffing: After a short wait, usually a few minutes, buff the area with a microfiber cloth to guarantee an even finish.
Curing Times
Curing times are crucial for ceramic coatings to achieve their full protective potential. Here's what to keep in mind:
- Initial Cure: Most coatings require an initial curing period of 24 to 48 hours. During this time, avoid exposing the vehicle to water.
- Full Cure: It may take up to a week for the coating to fully cure. Throughout this period, refrain from washing the car or applying any other products.
Interior Cleaning
While safeguarding your car's exterior is important, guaranteeing the interior is clean and well-maintained is equally vital for a comfortable driving experience. A clean interior not only enhances your vehicle's aesthetic but also improves air quality and extends the life of interior components.
Dashboard Dusting
Start by addressing the dashboard. Use a microfiber cloth to dust the dashboard, as it effectively removes dust without scratching surfaces. For stubborn grime, a mild cleaning solution can be applied. Pay special attention to air vents, knobs, and buttons. A small brush can help you reach tight spots and ensure thorough cleaning.
Carpet Shampooing
Next, focus on the carpets. Begin by vacuuming the entire carpet area to remove loose dirt and debris. Then, use a carpet shampooer to deep clean. Apply carpet shampoo evenly, scrub with a brush, and let it sit for a few minutes to break down stains. Rinse with clean water and use a wet-dry vacuum to extract excess moisture. Ensure the carpets are fully dry before replacing floor mats to prevent mold growth.
Final Tips
- Clean all glass surfaces with a streak-free glass cleaner.
- Use an interior protectant spray on plastic and vinyl surfaces to prevent fading and cracking.
- Regularly vacuum seats and upholstery to maintain cleanliness.
Leather Conditioning
Leather Conditioning
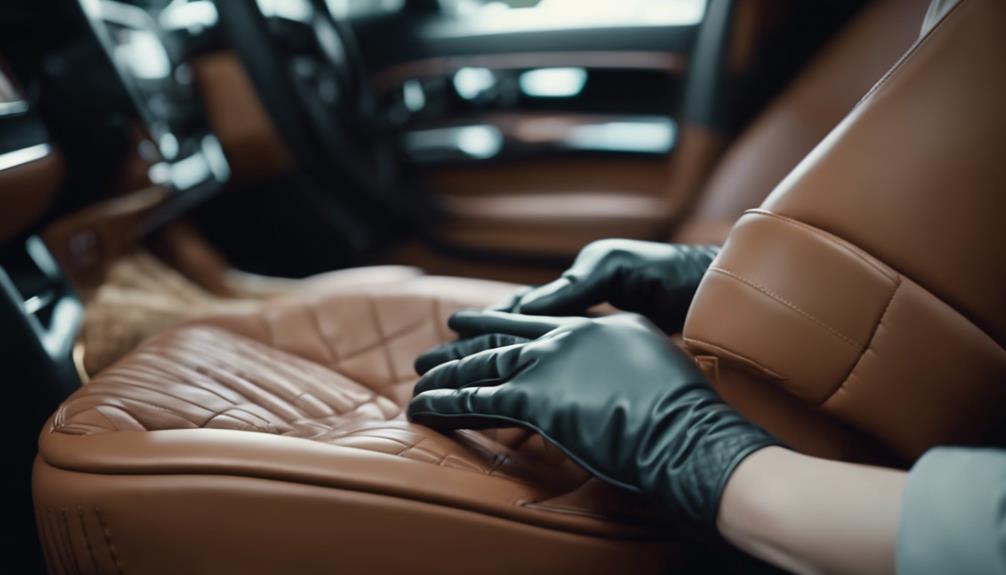
Leather conditioning preserves the softness and longevity of your car's leather seats and surfaces. To achieve best results, follow these steps and use the right conditioning products.
Steps to Condition Leather
- Clean the Leather: Before applying any conditioner, make sure the leather surface is clean. Use a leather cleaner to remove dirt and grime.
- Apply Conditioner: Choose a high-quality leather conditioner. Apply a small amount to a soft cloth and gently rub it into the leather. Focus on one section at a time.
- Allow Absorption: Let the conditioner sit for a few minutes. This allows the leather to absorb the nutrients, promoting leather rejuvenation.
- Buff the Surface: After the conditioner has been absorbed, use a clean cloth to buff the leather. This helps remove any excess product and gives a polished look.
Tips for Best Results
- Frequency: Condition your leather seats every 3-6 months to maintain their softness and prevent cracking.
- Test First: Always test the conditioner on a small, inconspicuous area first to make sure it doesn't discolor the leather.
- Avoid Excessive Heat: Keep your car out of direct sunlight after conditioning to prevent the leather from drying out.
Engine Detailing
When detailing your engine, begin by cleaning the various engine components to remove dirt, grease, and grime. Use appropriate cleaners and brushes to make certain all surfaces are spotless, then rinse thoroughly. Next, protect the engine surfaces with a high-quality protectant to prevent corrosion and keep the engine looking new.
Cleaning Engine Components
Cleaning Engine Components
Cleaning engine components not only improves your car's performance but also extends its lifespan. To achieve an effective clean, begin with steam cleaning. This method is highly efficient for loosening dirt and grime from engine surfaces without harsh chemicals. Hold the steam cleaner at an appropriate distance to avoid damaging sensitive parts.
Steps for Steam Cleaning
- Make sure the engine is cool before starting.
- Cover electrical components to prevent water damage.
- Use a steam cleaner to target dirty areas, focusing on hard-to-reach spots.
After steam cleaning, move to engine degreasing. Grease and oil buildup can compromise your engine's function. An effective degreaser cuts through this residue, restoring the engine's clean state.
Steps for Engine Degreasing
- Select a suitable engine degreaser.
- Spray the degreaser on greasy areas, avoiding electrical components.
- Allow it to sit for a few minutes to break down the buildup.
- Use a brush to scrub stubborn spots gently.
- Rinse with water, making sure not to soak the engine.
Following these steps guarantees a cleaner, more efficient engine. Regular engine cleaning not only helps maintain peak performance but also enables you to spot potential issues early. Keep your engine in top shape with these professional techniques.
Protecting Engine Surfaces
Protecting Engine Surfaces
With your engine now clean, it's time to focus on safeguarding its surfaces to guarantee long-lasting performance and aesthetics. Protecting engine surfaces involves two critical elements: heat shielding and corrosion prevention.
Heat Shielding
Heat shielding is essential in maintaining the integrity of engine components. High temperatures can degrade materials, causing wear and potential failure. To address this:
- Apply Heat-Resistant Coatings: Use specialized sprays or wraps to insulate parts sensitive to heat.
- Install Heat Shields: Place these barriers around components like the exhaust manifold to deflect heat away from other parts.
Corrosion Prevention
Corrosion prevention is equally important in protecting engine surfaces. Exposure to moisture and contaminants can lead to rust and deterioration. Follow these steps:
- Use Anti-Corrosion Sprays: Apply these products to metal surfaces, creating a protective layer against moisture.
- Regularly Check for Leaks: Make sure there are no leaks in the cooling and fuel systems, as these can introduce corrosive substances.
- Keep the Engine Dry: After cleaning, make sure the engine is thoroughly dried to prevent moisture buildup.
Final Touches
In the final touches of auto detailing, you should inspect for imperfections, apply protective coatings, and perform a final buff and polish. Carefully examine the vehicle's surface for any missed spots or flaws, ensuring a flawless finish. Afterward, add protective coatings to preserve your hard work, and then give the car a final buff and polish for that perfect shine.
Inspect for Imperfections
Before wrapping up your auto detailing, take a thorough look at the vehicle to spot any remaining imperfections. Inspect the surface under good lighting conditions to identify light scratches and swirl marks. These minor flaws often get overlooked but can greatly impact the final appearance of the car.
Steps to Inspect for Imperfections:
- Use Proper Lighting: Position the vehicle in a well-lit area or use a portable light source to highlight imperfections. Natural sunlight works best, but a bright LED light can also reveal hidden defects.
- Check for Light Scratches: Run your hand gently over the surface to feel for any rough patches that might indicate light scratches. These can often be found around door handles, near the trunk, or on the hood.
- Look for Swirl Marks: Swirl marks appear as circular patterns on the paintwork. They are usually caused by improper washing or polishing techniques. Carefully examine the entire vehicle, especially the areas you've recently polished.
- Inspect Glass and Chrome Surfaces: Don't forget to check the windows, mirrors, and any chrome trim for smudges, water spots, or minor scratches.
Thoroughly inspecting for these imperfections ensures your detailing job achieves a flawless finish, enhancing the vehicle's overall look and value.
Apply Protective Coatings
To give your vehicle's finish long-lasting protection, apply a high-quality protective coating as the final touch. This step is vital in shielding your car's paint from environmental damage and maintaining its glossy appearance.
Benefits of Protective Coatings
- UV Protection: These coatings provide a barrier against the sun's harmful UV rays, preventing paint oxidation and fading. Without UV protection, your car's finish can deteriorate faster, leading to costly repaints.
- Hydrophobic Barriers: Protective coatings create hydrophobic barriers that repel water and dirt, making your car easier to clean. Water will bead up and roll off, taking dirt and grime with it.
Application Process
- Choose the Right Coating: Opt for a ceramic coating or a high-quality synthetic sealant. These materials offer superior protection compared to traditional waxes.
- Prepare the Surface: Make sure the car's surface is clean and dry. Any contaminants left on the paint can interfere with the coating's effectiveness.
- Apply Evenly: Use an applicator pad to apply the coating in a thin, even layer. Work in small sections to ensure complete coverage.
- Cure Time: Allow the coating to cure as per the manufacturer's instructions. This step is essential for the coating to bond properly with the paint.
With these steps, your vehicle will have the ultimate protection against environmental elements.
Final Buff and Polish
Final Buff and Polish
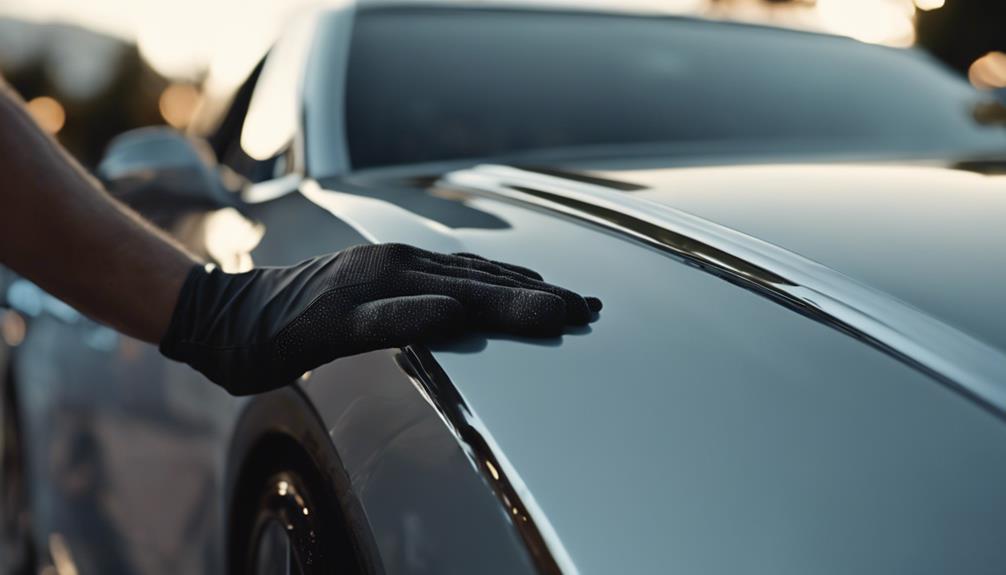
After applying the protective coating, give your vehicle a final buff and polish to achieve a flawless, showroom-quality finish. This step is important for removing any remaining imperfections and guaranteeing the protective layer is evenly distributed.
Steps for Final Buff and Polish
- Select the Right Pad and Polish:
- Use a soft, clean buffing pad to avoid pad scratches.
- Choose a finishing polish designed for swirl removal and enhancing shine.
- Apply the Polish:
- Dab a small amount of polish onto the pad.
- Work in small sections, applying the polish with light to moderate pressure.
- Buff the Surface:
- Use a dual-action polisher for even results.
- Move the polisher in overlapping motions to ensure complete coverage.
- Inspect Your Work:
- Check for any remaining swirls or pad scratches.
- Buff out any imperfections until the surface is smooth and glossy.
Final Checks
- Examine Under Different Lighting:
- Make sure no swirls or scratches are visible under direct sunlight or bright lights.
- Utilize a Clean Microfiber Towel:
- Wipe down the vehicle to remove any excess polish and reveal the final shine.


